Why you should be using Cloudinary for your images

Using Cloudinary to deal with images 🖼️
What's up guys? Today I want to show you why you should be using Cloudinary to deal with images on your projects.
Cloudinary is packed with neat features, but today I want to talk with you about the transforms features that they have, they're really handy.
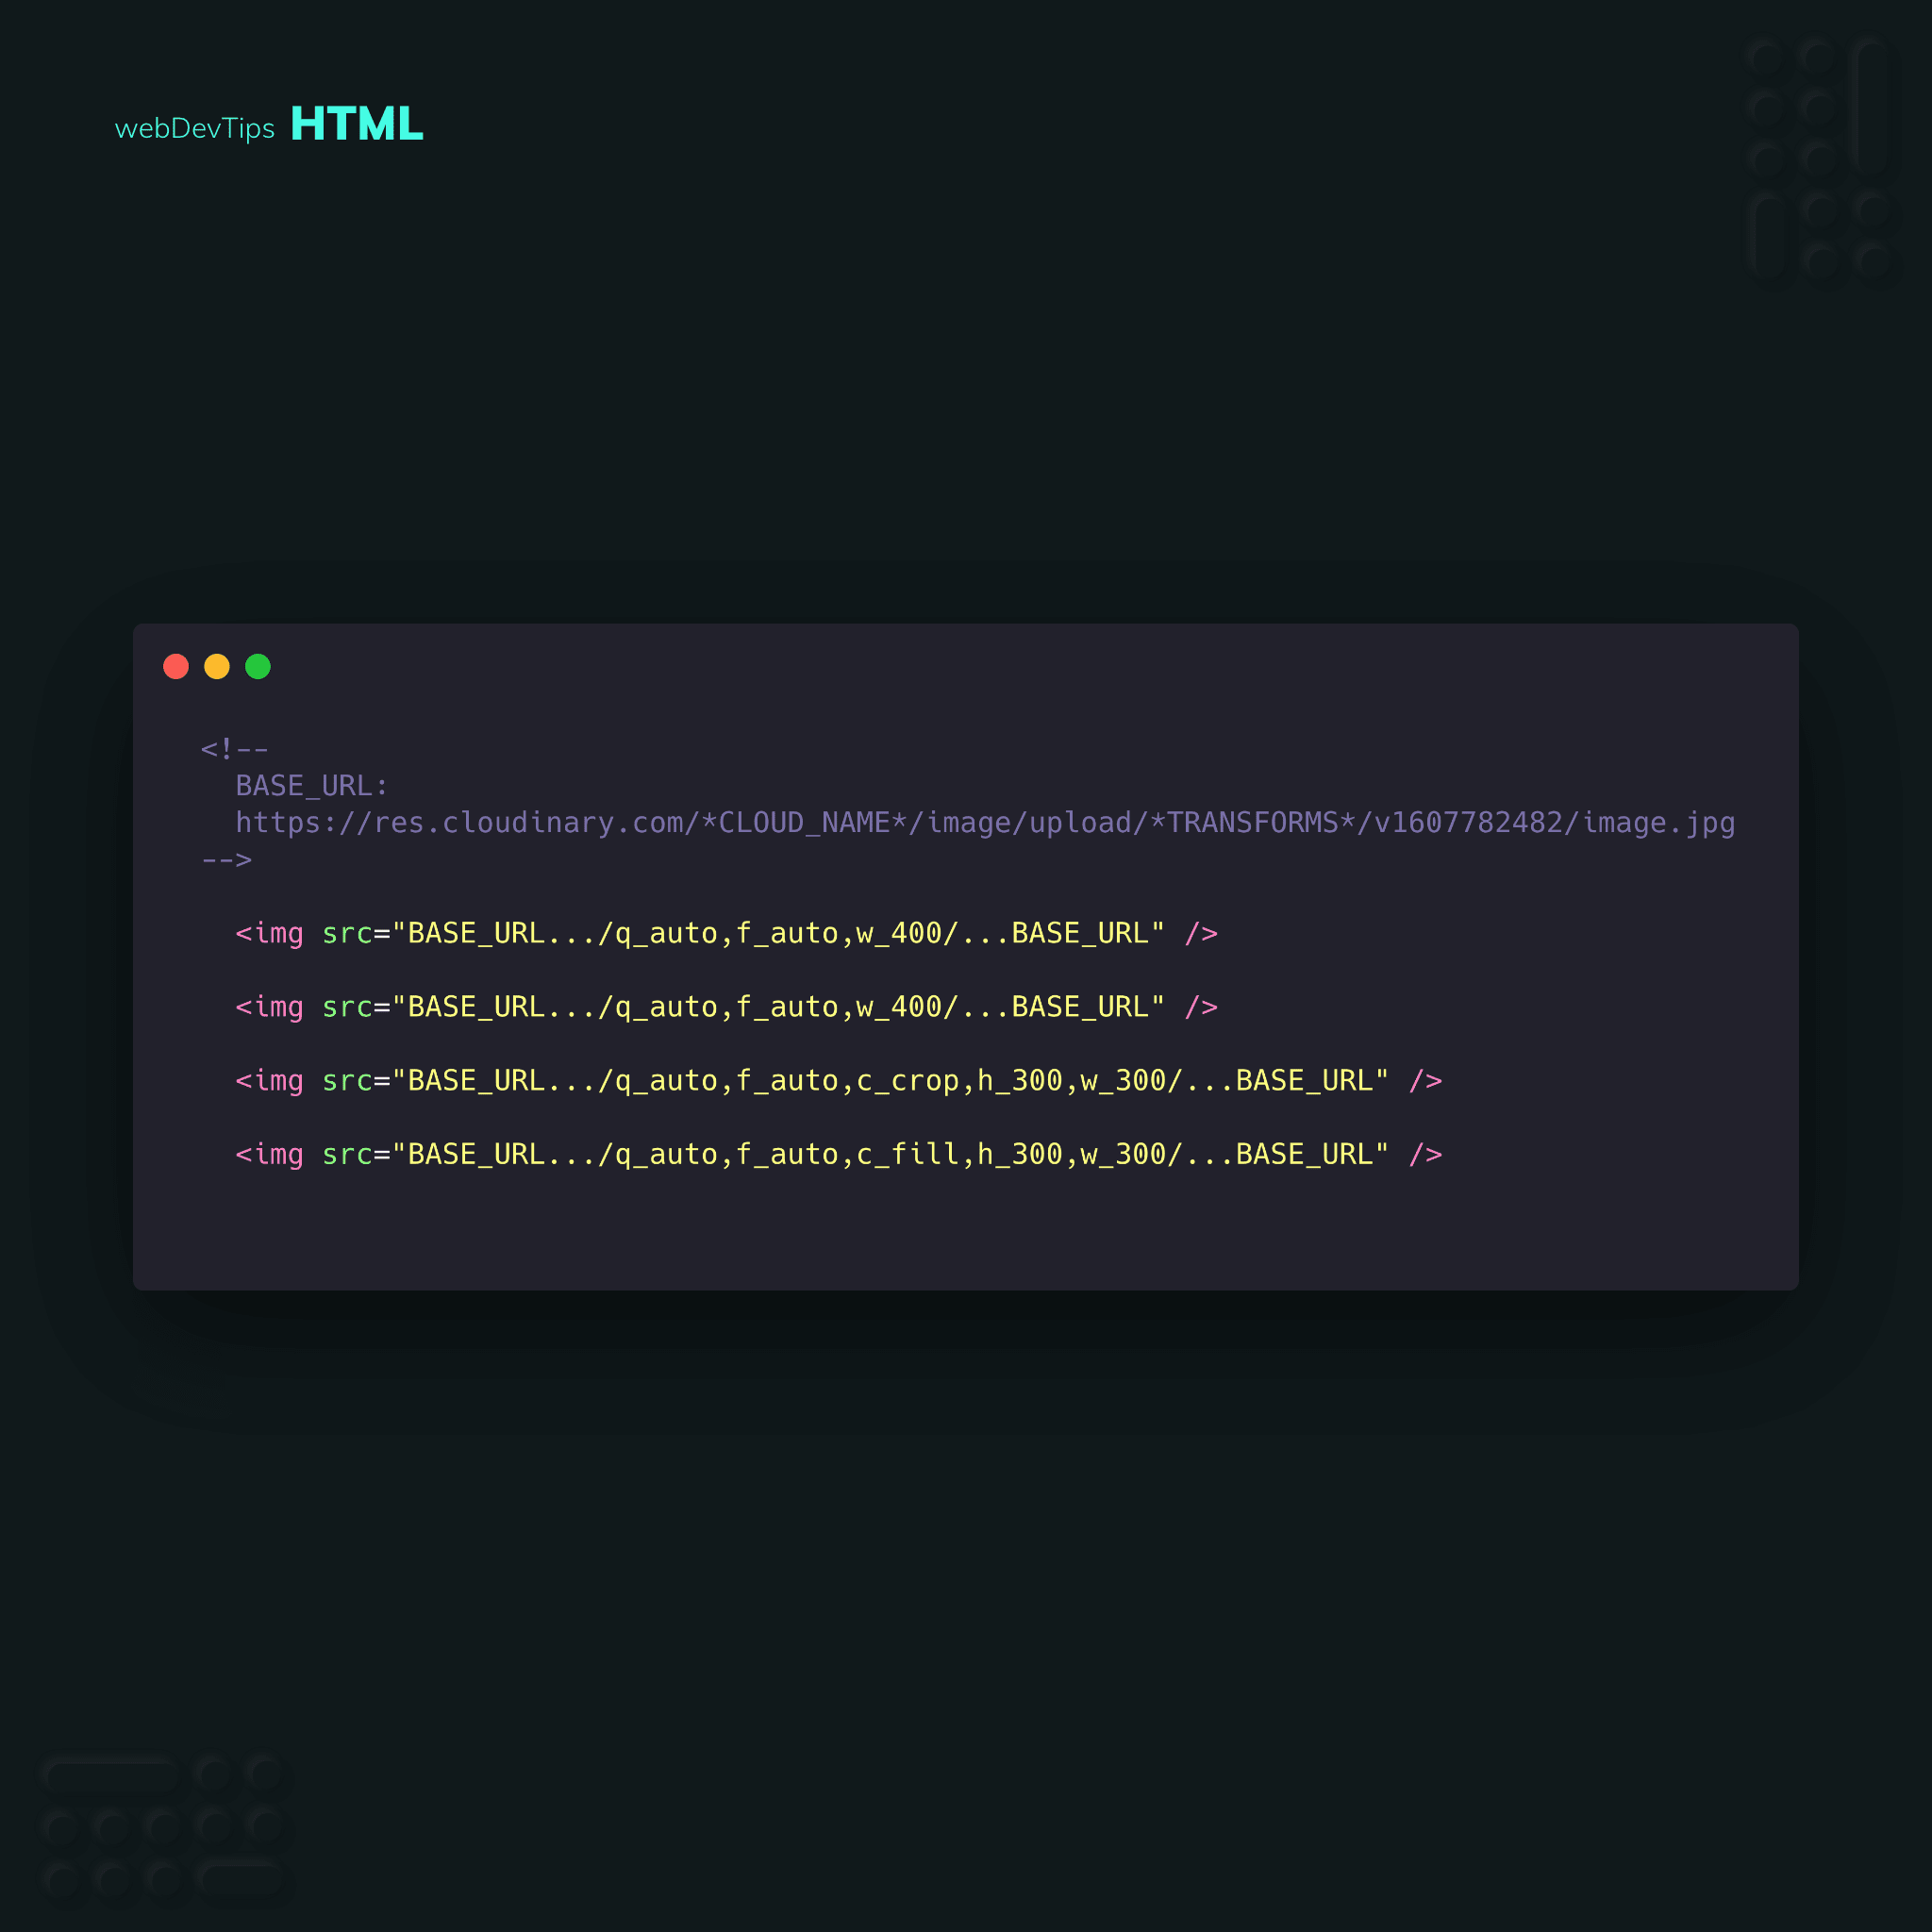
So, let's say you have created an account on Cloudinary, and using their dashboard you uploaded some images to use on a project. If you click on a image you can copy its URL and it should be something like the 'BASE URL' here on my code - on 'CLOUDNAME_' there should obviously be your own cloud name.
Now we can straight up use this URL and we'll have our image on our website. But Cloudinary has these cool transforms. These are parameters that you specify on the URL - where it says 'TRANSFORMS' - and they will transform your image.
So what kind of things can you do with this? For me, the main ones are 'qauto' , 'fauto' and 'w_auto'. The first one will make sure that it optimizes the image size whilst maintaining image quality. The second will transform the image format to the best format that the user's browser can handle - on Chrome for example it will transform images to 'webp'. The later one will make the image has the necessary width it needs, instead of loading an unnecessarily huge image .

If you take a look at the example I provided, you'll see some other parameters. 'ccrop' and 'cfill' will crop the image or make it fill based on the width and height we are also setting with 'w300' and 'h300'.
Well, that's it for today. If you check their website you can find a lot more transforms that you can you use on your images.
I'll make some more tips on Cloudinary so make sure you stay tuned! How about you guys? Have you ever tried Cloudinary? 😁👊