Shortening your text with ellipsis with nothing but CSS
It's quite common for us to have to 'cut' some characters of a text and put some ellipsis ( ... ) a the end of it. Wether it is because we only want to show a small preview of the whole text or simply because we need to fit the text to a container, this is something that can be achieved in numerous ways, depending on the specific situation.
<div class="wrapper">
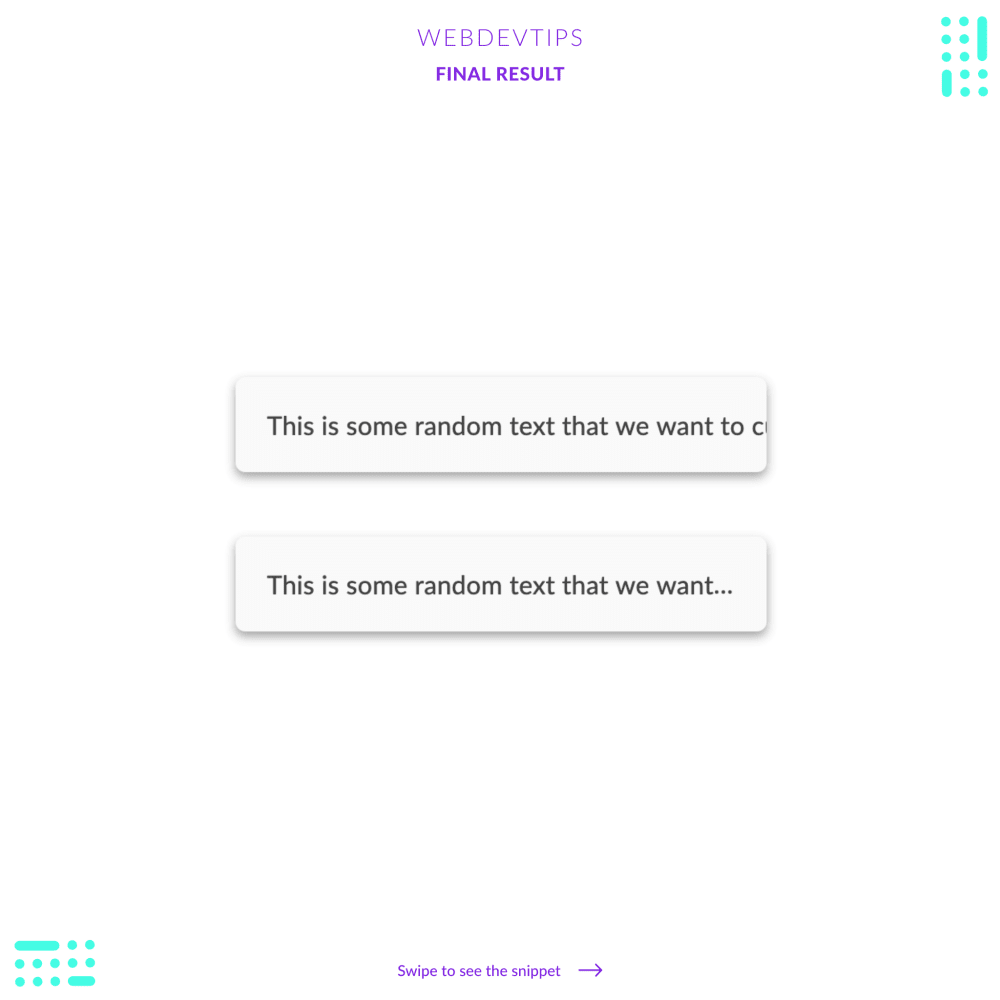
<h1 class="text">This is some random text that we want to cut</h1>
<h1 class="text ellipsis" style="margin-top:40px;">This is some random text that we want to cut</h1>
</div>
Using this really simple method, you don't need to know how many characters you want to show, you just need to know the size of your container element and the text will always fit that element without it overflowing. Here we just have to 'h1' elements with our text inside. The latter one has the class 'ellipsis' and here his where we'll make the magic happen 🧙♂️
.ellipsis{
   width:250px;
   text-overflow: ellipsis;
}

.text{
   width: 290px;
   padding: 20px;
   font-size: 1rem;
   margin: 0;
   color: #424242;
   white-space: nowrap;
   overflow: hidden;
   background-color:#FAFAFA;
   border-radius:6px;
   font-weight: 500;
   box-shadow: 0 3px 6px rgba(0,0,0,0.16), 0 3px 6px rgba(0,0,0,0.23);
}

.ellipsis{
   text-overflow: ellipsis;
}
In the 'text' class, we just have to set the width we want on the element, 'white-space: nowrap' because we don't the text to break to a new line and then 'overflow: hidden' so we don't see the text outside of the box. This will produce an ugly result as you can see in the first example.
Finally, to get the result we want, we use the 'ellipsis' class to apply 'text-overflow: ellipsis' to the second 'h1' thus creating the ellipsis and making sure the text will always fit the element and it's padding!