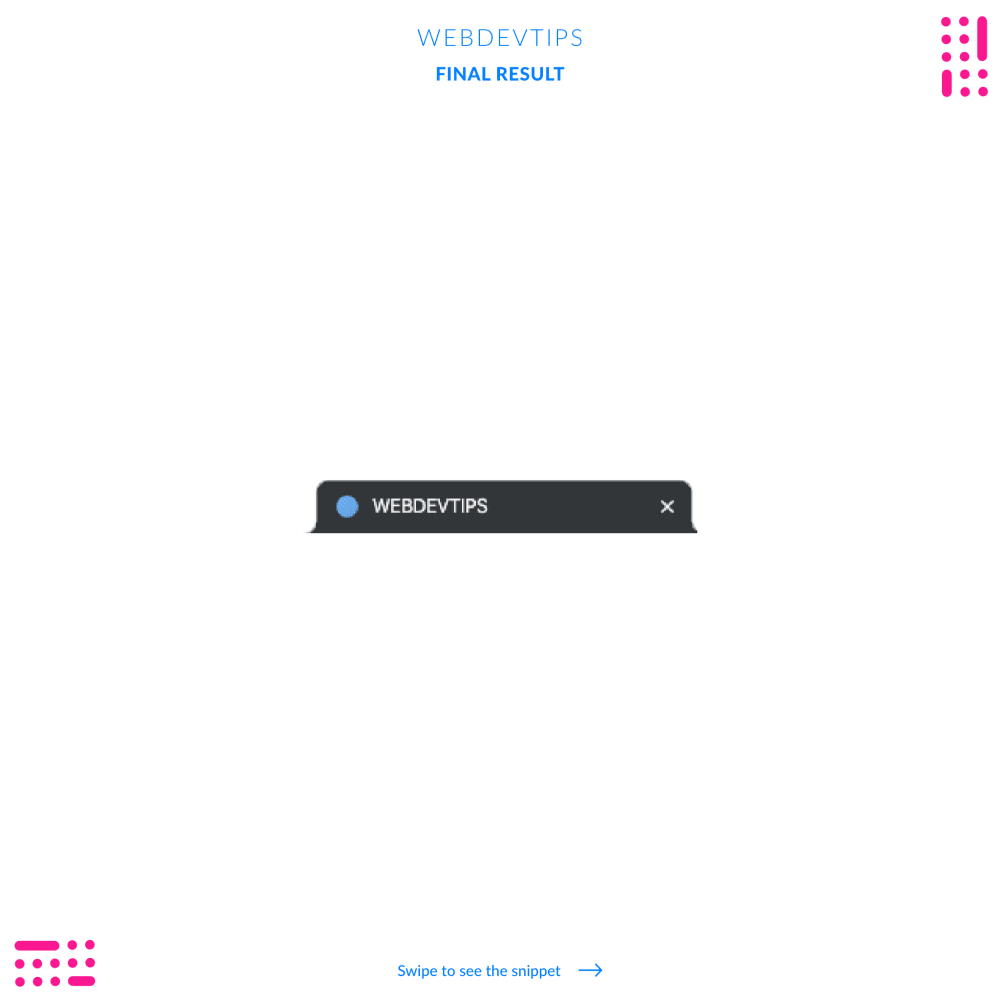
How to add a Favicon to your website

So for today we have a really simple but practical tip: adding a favicon to your website.
A Favicon is that small icon we can see next to the website's title on the browser tab. It's something that all websites should have since it helps users to quickly recognize a website's identity.
Adding this to your website is super easy, you just need two things: first you need to get the actual icon that you want to display and second, you'll need to link this icon on your HTML file.
For this first step you have two options: you can search for something like 'favicon generator' and you'll find a lot of websites where you just upload whatever image you want to use as the Favicon and it will generate the file in the correct size and format. It will also generate multiple sizes for different devices. The second option is too select the image you want and just resize it to have '16px x 16px'. This is the recommended size for it. Notice that this is a really small size so you better chose simple stuff for the Favicon. If you try to use a really complex logo, the final result will be a very blurry mess that won't be comprehensive.
<head>

   <meta charset="utf-8">
   <meta name="viewport" content="width=device-width, initial-scale=1, shrink-to-fit=no">
   <title>WEBDEVTIPS</title>
   <link rel="shortcut icon" type="image/png" href="./favicon.png"/>
   <link href="https://fonts.googleapis.com/css?family=Lato:300,400,700,900&display=swap" rel="stylesheet">

</head>
Now that you have the file, you just need to link it. Look at the code example to see how to do this. You just need to put the 'link' tag inside the 'head' of your file. On this 'link' you'll reference your file and add the 'rel' and 'type' attributes.